

How To Mount Solar Panel On Roof ?
2025-08-01
Mounting solar panels on your roof is one of the most efficient ways to harness renewable energy for your home or business. Whether you're aiming to reduce your energy bills or take a step toward sustainability, understanding how to mount solar panel on roof is essential to maximize energy output and ensure safety.
In this guide, we'll walk you through the entire process, from preparation to installation, and highlight the technical specifications of our high-quality mounting systems. You'll also find a detailed FAQ section at the end to address all common concerns.
Why Roof-Mounted Solar Panels?
Roof-mounted solar panels are popular for several reasons:
-
Efficient use of space, especially in urban areas
-
Better exposure to sunlight
-
Improved system aesthetics
-
Cost-effective installation compared to ground mounts
Tools & Materials Needed
To properly mount solar panels on your roof, you'll need the following tools and components:
-
Roof mounting rails
-
L-feet or roof hooks
-
Flashing (to prevent water leaks)
-
Mid and end clamps
-
Mounting brackets
-
Inverter and wiring kit
-
Safety harness and protective gear
-
Drill, wrench, measuring tape, stud finder
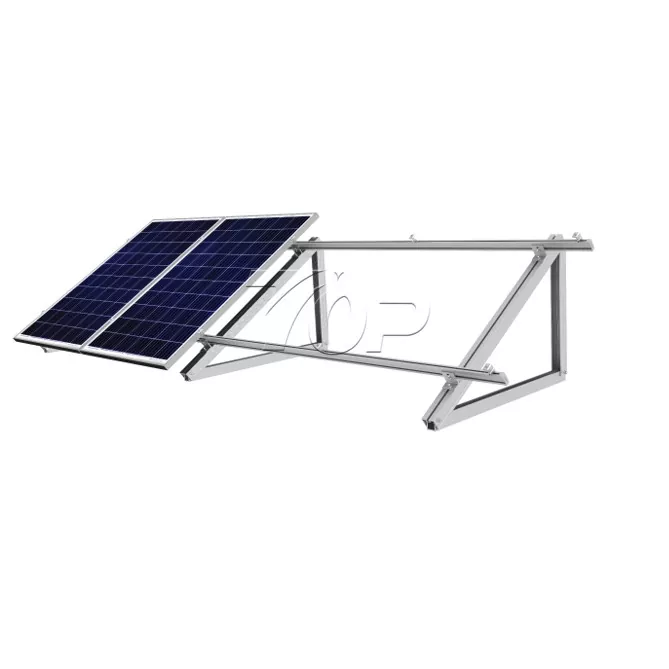
Our Product Specifications
We offer a complete solar panel mounting system engineered for durability, safety, and performance.
| Component | Specification |
|---|---|
| Mounting Rail | Aluminum Alloy 6005-T5, anodized finish |
| Roof Hook | Stainless Steel SUS304, corrosion-resistant |
| Clamps | Mid & End Clamps (anodized aluminum) |
| Flashing | Aluminum flashing with EPDM rubber gasket |
| Wind Load | Up to 60 m/s |
| Snow Load | Up to 1.4 kN/m² |
| Roof Types | Asphalt shingle, metal roof, tile roof |
| Warranty | 15 years product warranty |
| Certifications | ISO 9001, UL 2703, CE |
How To Mount Solar Panel On Roof: Step-by-Step Process
Step 1: Roof Inspection and Planning
-
Inspect Roof Condition: Ensure your roof is in good condition. Replace any damaged shingles or tiles.
-
Determine Roof Orientation: South-facing roofs (in the northern hemisphere) receive maximum sunlight.
-
Measure Area: Calculate available space for the panels.
-
Check Local Permits: Always comply with local building codes and utility regulations.
Step 2: Install Flashing and Roof Hooks
-
Locate Rafters: Use a stud finder to locate and mark rafters.
-
Drill Pilot Holes: Drill into the rafter for maximum structural support.
-
Install Flashing: Slide flashing under the shingle and seal with roofing caulk.
-
Mount Roof Hooks: Secure with stainless steel lag bolts.
Step 3: Mount Rails
-
Attach Rails to Hooks: Use bolts and nuts to fix the aluminum rails securely.
-
Level the Rails: Ensure all rails are perfectly aligned and level.
-
Tighten Fasteners: Check for proper torque to avoid movement or noise.
Step 4: Mount the Solar Panels
-
Place Panels on Rails: Start from one end, working across.
-
Fix with Mid and End Clamps: Tighten securely without over-compressing the panel frame.
-
Leave Wiring Space: Allow access space for future maintenance or cleaning.
Step 5: Wiring and Inverter Installation
-
Connect Panels: Wire the panels in series or parallel based on system design.
-
Grounding: Attach grounding wires to all components.
-
Install Inverter: Mount near your electrical panel for easy grid-tie connection.
Step 6: System Inspection and Activation
-
Check Connections: Ensure all bolts, clamps, and wiring are secure.
-
Utility Approval: Have the local utility company inspect and approve.
-
Turn On System: Once approved, activate the inverter and monitor production.
Maintenance Tips
-
Clean Panels Regularly: Dust and debris can lower efficiency.
-
Check Mounts Annually: Look for corrosion or loose fasteners.
-
Monitor Output: Use apps or software to track power generation.
Safety Precautions
-
Always wear fall protection gear when working on the roof.
-
Turn off all electricity during wiring.
-
Never install in wet or windy conditions.
-
Hire a licensed electrician for grid connection.
FAQ: How To Mount Solar Panel On Roof
Q: Do I need a professional to install solar panels on my roof?
A: While DIY installation is possible, hiring a professional ensures proper setup, safety, and code compliance.
Q: What kind of roof is best for mounting solar panels?
A: Asphalt shingle roofs are the most solar-friendly. Tile and metal roofs also work but may need additional mounting accessories.
Q: How do I know if my roof can support solar panels?
A: Conduct a structural assessment to check load-bearing capacity. Our system is lightweight, but your roof must be in good shape.
Q: Can solar panels damage the roof?
A: Not if installed correctly. We use waterproof flashing and stainless steel hooks to ensure zero leakage or structural damage.
Q: How long does it take to install solar panels on a roof?
A: A standard residential installation usually takes 1 to 2 days, depending on the roof type and system size.
Q: Are roof-mounted solar systems safe during storms?
A: Yes. Our mounting system withstands high wind (up to 60 m/s) and heavy snow loads (up to 1.4 kN/m²), meeting international safety standards.
Q: How do I choose the right mounting system?
A: Match the mounting system to your roof type and panel layout. Our team offers free consultations and layout design assistance.
Q: What maintenance does the mounting system require?
A: Our corrosion-resistant aluminum and stainless steel components require minimal maintenance—an annual visual check is typically enough.
Q: Can I expand my solar system later?
A: Yes. Our modular mounting rails allow easy expansion without replacing the entire